Have you ever embarked on a painting project only to discover that the new paint color doesn’t quite match the existing walls? The frustration of mismatched shades can quickly turn a DIY home improvement task into a daunting challenge. Fear not, How to color match paint on a wall for mastering the art of color-matching paint on a wall is not an elusive skill reserved for professional painters alone. In this comprehensive guide, we will delve into the intricacies of achieving seamless color transitions in your living space, empowering you with the knowledge and techniques needed to flawlessly blend hues and create a harmonious aesthetic.
Understanding Color Matching
Color matching is a blend of art and science. Essentially, it’s about pinpointing the paint color that best matches your desired shade. This process demands a sharp eye for detail and a deep grasp of and their foundations. A crucial initial step in successful matching is grasping the wheel and the idea of temperature. Colors are categorized as either warm (reds, oranges, yellows) or cool (blues, greens, purples). Identifying where your target fits on this spectrum can greatly narrow your search.
Tools and materials needed
- Paint swatches
- meter or scanner
- Paintbrushes
- Mixing palette
- White primer
- Fine-grit sandpaper
- Clean cloth
Preparing the Surface
Before attempting to match and apply paint, it’s crucial to properly prepare the surface you’ll be working on. Start by cleaning the wall with a damp cloth to remove any dust, dirt, or grease. This ensures the new paint adheres well and provides a smooth finish. Next, lightly sand the area with fine-grit sandpaper to create a slightly rough surface for better adhesion. Wipe away any sanding dust with a clean cloth. If there are any holes or imperfections, now is the time to fill them with spackle and allow them to dry completely before proceeding. Finally, apply a coat of white primer to the area.
Testing the Color Match
After preparing the surface, it’s time to test the match. Start by applying a small amount of the matched paint to the primed area of your wall. It’s advisable to do this in a less noticeable spot to ensure that any slight mismatch won’t stand out. Let them dry completely, as it tends to darken as it dries. Once dry, assess the color in different lighting conditions throughout the day, as natural and artificial light can significantly alter the appearance r. If the test patch blends seamlessly with the surrounding wall, you’ve achieved a good match. If not, you might need to adjust the tint or try an alternative method to achieve better results.
Adjusting and Applying
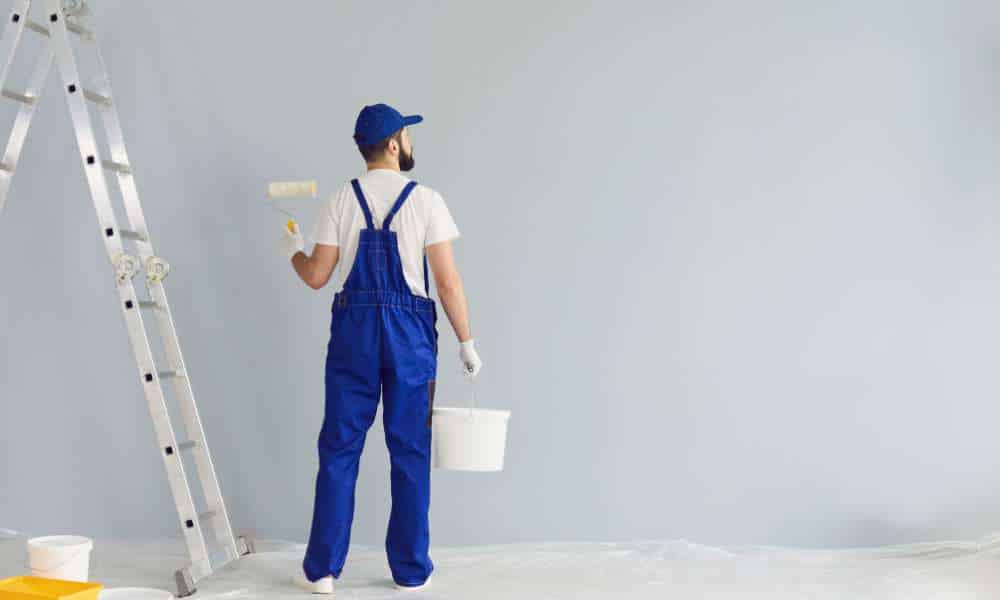
To adjust and match a paint color already on the wall. If the initial test shows a color mismatch, adjusting the hue, value, or chroma of your paint may be necessary. You can tweak the characteristics by adding small amounts of primary colors until you get a closer match. Patience is crucial here, as even tiny changes can greatly impact the result. Once you’re happy with the match, it’s time for the wall. Use a high-quality brush or roller for a smooth application, starting from the edges and moving inward. Apply thin, even coats to avoid drips or uneven textures, and allow each coat to dry adequately before the next. This careful method ensures a flawless finish that seamlessly blends with the existing wall.
Tips for Successful Color Matching
- Consider the Finish: The sheen or finish of the plays a crucial role in how the color appears once applied. Matte, eggshell, satin, semi-gloss, and gloss finishes all reflect light differently, affecting the color’s perception. Ensure you match not just the color but the finish of your original for a truly seamless look.
- Use Primer: For areas with significant color changes or repairs, applying a primer before the final paint coat can provide a neutral base, ensuring the new displays are accurate.
- Blend the Edges: When touching up smaller areas, feather out the edges while they are still wet. This blending technique helps prevent visible borders between the old and new paint.
- Keep Records: Once you’ve achieved the perfect match, save the formula and finish the details. Label the can with the room it was used in and the date. This record-keeping simplifies future touch-ups or repaints.
Conclusions
By following the steps outlined in this article, you can ensure a seamless blend between existing and new colors, enhancing the overall aesthetic of your space. Remember to test the color match in different lighting conditions to confirm its accuracy before proceeding with the entire painting process. With practice and precision, you can master the skill of matching and creating a harmonious look throughout your home or workspace.